
Home Remodeling Project Updates (11/29/2011)
Chimney Water Damage Repairs
 Ever wonder what years of water build-up on untreated wood will do? The answer is simple: Lots and lots of rotten wood!
Steve Way Builders, LLC was recently contracted by the homeowners of this Lansing, Michigan home to investigate the source of some water damage showing on some drywall within the home. Upon further investigation, the source of the water problem was unmistakable. For roughly 20 or more years, water was running within the wall of the chimney due to improper roof flashing.
To fix the flashing and water damage problem, Steve Way Builders, LLC needed to re-flash the chimney and fix any wood that has been damaged. After removing the vinyl siding and sheathing on the chimney wall, the water damage was extensive. The sheathing was completely rotted away, as was one of the 16' wall studs in the chimney wall. Also badly rotted was the floor joist and subfloor system of the cantilevered chimney base.


After the rotted wood was removed, new joists were "sistered" in to the original floor system and a new stud was installed to finish the chimney wall framing. New insulation was installed in the chimney to replace the original water logged insulation. The new chimney wall was sheathed with plywood and covered with Tyvek HomeWrap to help prevent moisture from entering the chimney wall.
 With the chimney framing fixed, Steve Way Builders, LLC removed roof shingles to fix the flashing surrounding the chimney. Aluminum coil stock was custom bent to create multiple flashing pieces for the chimney. After fixing the chimney flashing, the shingles and vinyl siding that were removed earlier were re-installed, completing the chimney repair.
As seen in this home, poor roof flashing can cause major problems within a home. The best way to prevent water damage is to have the job completed correctly the first time around. Unfortunately this is not always the case. When you find yourself with a water leak, fix the problem as soon as possible to prevent mold build-up and to keep the costs to fix the problem as inexpensive as possible.
What other suggestions to do have regarding water damage and roof flashing? Have you found yourself in a similar situation?


Brad Way
Marketing and Sales Representative
Steve Way Builders, LLC - The Remodeling Specialist
 This addition of "Home Remodeling Project Updates" focuses on a metal roof repair in Lansing, Michigan. Steve Way Builders, LLC was contacted by the


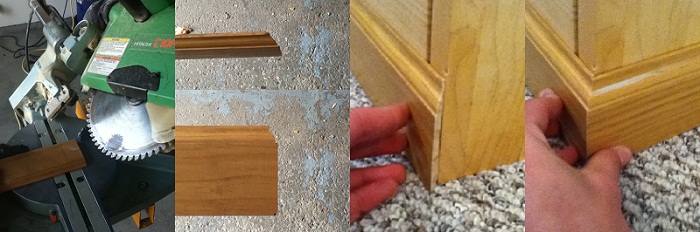


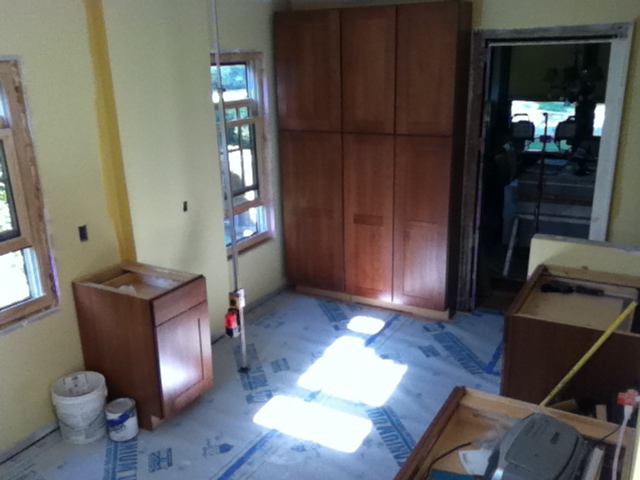
 Work in the rear entry mudroom is being completed as custom lockers and shelving have been built and installed. The maple locker units have been stained and custom doors are being made to match the kitchen cabinets. Outside the mudroom, the temporary deck and stairs have been removed and replaced with composite decking by AZEK Building Products. The mudroom will be completely finished this week as it will receive its final coat of paint.
 There are several questions one should ask oneself before deciding on a remodeling project. Here are a few tips and reminders to help you when you are preparing for a major home remodel.
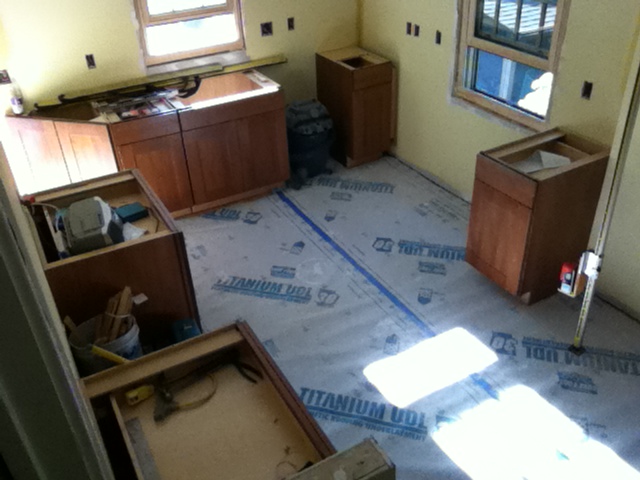
 The last "Home Remodeling Project Update" showed the initial installation of the kitchen cabinets as well as the newly installed oak hardwood flooring in the kitchen area. The painting had also been completed in the kitchen. The upstairs full bathroom had received new ceramic tile and was awaiting to be painted. The ceramic tile in the mudroom had also been installed and paint is to be completed at the same time as the bathroom.


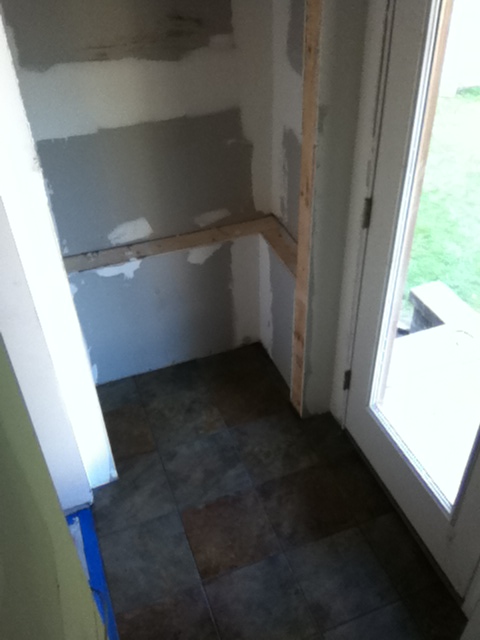.jpg?width=217&height=289&name=mudroom_ceramic_tile_(5).jpg) The original kitchen and adjacent half bath have been demolished and joined together to make into one large, redesigned kitchen that includes new oak flooring, cabinets and counter tops, windows, and appliances. The upstairs full bath is also being completely remodeled and features a double vanity sink, 4 foot fiberglass shower stall, and ceramic tile flooring. The original rear entry will transform from a covered porch into an enclosed mudroom with cermamic tile floors and custom shelving.
The original kitchen and adjacent half bath have been demolished and joined together to make into one large, redesigned kitchen that includes new oak flooring, cabinets and counter tops, windows, and appliances. The upstairs full bath is also being completely remodeled and features a double vanity sink, 4 foot fiberglass shower stall, and ceramic tile flooring. The original rear entry will transform from a covered porch into an enclosed mudroom with cermamic tile floors and custom shelving.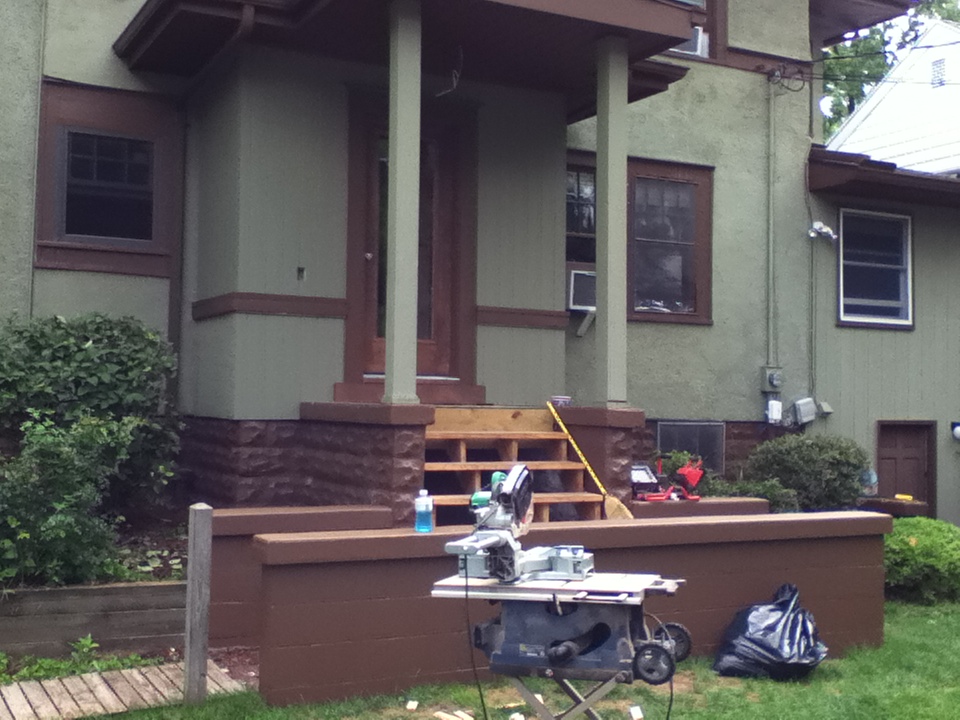.jpg?width=293&height=220&name=mudroom_addition_(3).jpg)

.jpg?width=294&height=221&name=kitchen_base_cabinets_(9).jpg)
.jpg?width=293&height=220&name=kitchen_base_cabinets_(7).jpg)

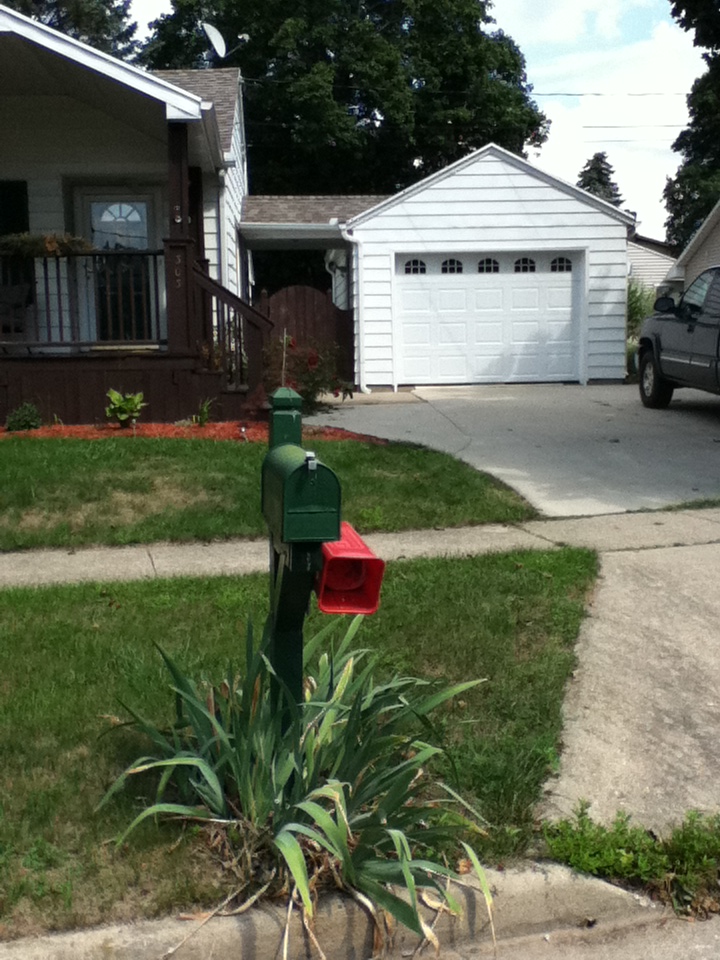.jpg?width=220&height=293&name=garage_door_replacement_(9).jpg)
 5 Common Questions to Ask when Choosing a Remodeling Contractor